Introduction: A Shop-Day Wake-Up Call
I still remember the morning the shop filled with that thin, oily haze and everyone paused — the machines kept running, but the air felt wrong. In small shops and big production lines alike, poor ventilation cuts productivity and morale; studies show poor air quality can reduce worker focus by up to 10%. The main tool people turn to for this is the laser marking fume extractor, and yet so many teams still wrestle with downtime and clogged filters. (We’ve been there.)
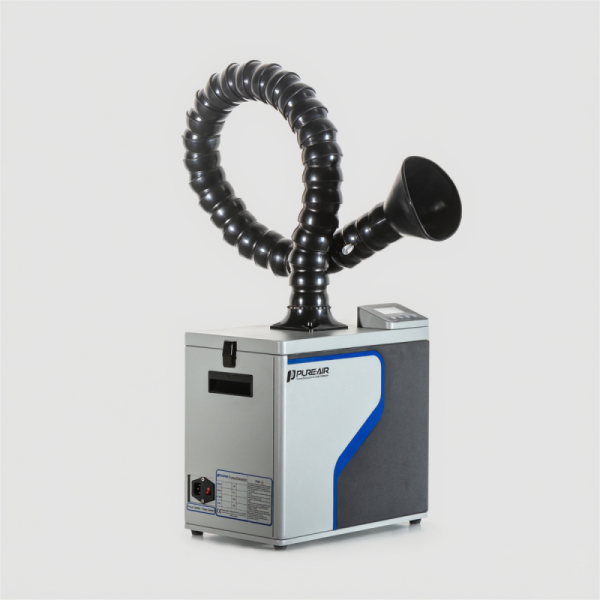
I want you to feel confident the moment you flip the switch. I’ll walk you through what I’ve seen fail, and what actually works. We’ll keep things practical: simple checks you can do, realistic upgrades that won’t break the budget, and quick wins to improve extraction hood performance and cut particulate load. Ready to troubleshoot like a pro? Let’s move into what’s really going wrong — and how to fix it.
Part 2 — Why Traditional Fixes Often Miss the Mark
laser marker fume extractor systems get patched and prayed-for a lot. I’ve watched shops swap filters, crank fan speed, and still complain about smell and smoke. The problem? Many fixes treat symptoms instead of flow dynamics and filtration chemistry. In technical terms, boosting fan speed without assessing static pressure, duct losses, or the extraction hood placement just shifts the problem downstream. You end up with shorter filter life, higher noise, and uneven capture across the work area.
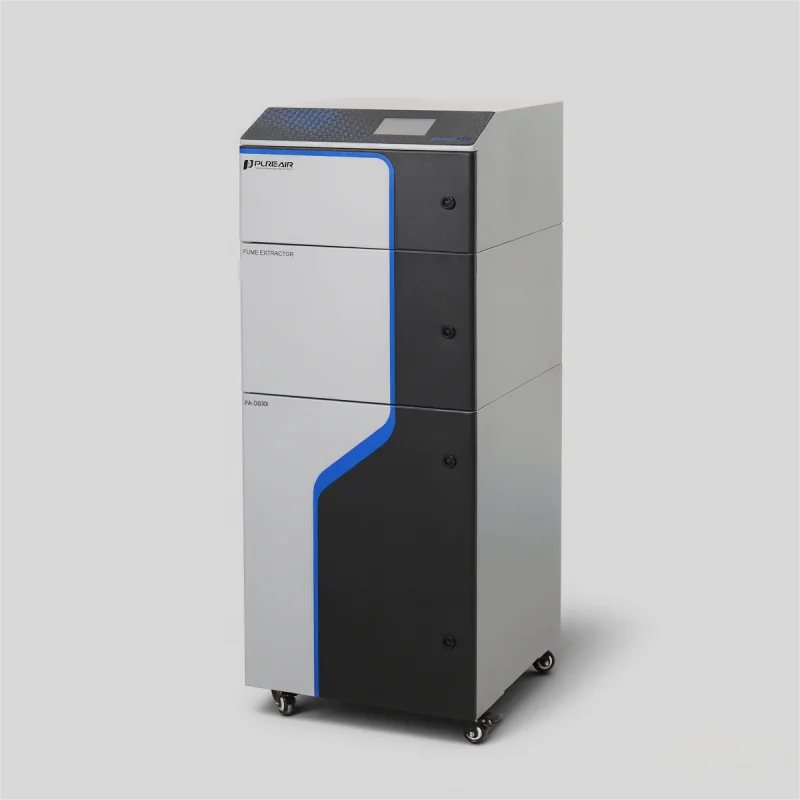
What exactly breaks first?
First, the particulate filter and activated carbon beds are common victims—overloaded, channeling, and then bypassing. Next, the hood geometry and airflow rate are often wrong for the part size or focal point of the laser, so capture efficiency drops sharply. Look, it’s simpler than you think: poor capture equals wasted filtration. I use a few quick checks when I walk into a shop — smoke test, hood alignment, measure static pressure. Those alone reveal whether a tune-up will work or if a system redesign is needed. If you’re troubleshooting now, start with hood placement and a visual on the HEPA and carbon modules; they tell the story.
Part 3 — Moving Forward: Practical Upgrades and Metrics
Having seen repeated failures, I prefer a forward-looking approach: match design to process and measure results. Modern solutions don’t just add power — they optimize capture with better hood design, modular filtration (HEPA plus targeted activated carbon), and manageable airflow control. For example, adjustable extraction hoods combined with balanced fan speed let you reduce recirculation and extend filter life. I’ve implemented these on small production lines and cut filter replacements by nearly half — yeah, measurable savings. — funny how that works, right?
What’s Next for your shop?
If you’re evaluating upgrades or replacing a worn unit, think about three core metrics I always use: capture efficiency at the work zone (percentage of emitted fumes actually captured), clean-air delivery rate tied to the laser’s power class (airflow rate per watt), and operational cost per month (filters + energy + maintenance). Measure before and after. Track filter pressure drop and hood smoke-test passes. Those numbers give you clarity.
I speak from trials and a few mistakes — I’d rather you skip the learning curve. When you combine targeted filtration, correct hood geometry, and sensible airflow control, the difference is obvious: cleaner air, fewer complaints, and lower lifetime cost. For reliable systems that balance those factors, I often point teams toward practical vendors who design around real shop workflows — for instance, PURE-AIR. Check their offerings and match them to your measurements before you buy.